Started the removal of the pop top tent for a complete rehab of the pop top itself.
Planning to replace the tent
Scrub clean (for good) the inside flocking of the pop top
Rebuild the vent window
Paint the top
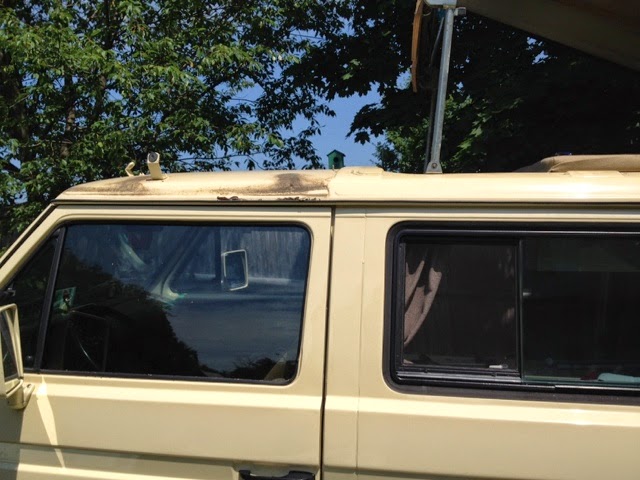
Stainless cleats on the luggage rack
All stainless hardware for the pop top and luggage rack
Paint the luggage rack
Reseal the pop top and the luggage rack
And have it all done in a few days.
Started this morning.
I have an early 'stapled' style of pop top tent. Later models have a 'screwed in' style. They are very different, both in application and in tent size. Be sure you know what you have prior to starting, or ordering a replacement.
First thing was to arrange for a few guys to come over later and assist getting the top off the van.
Then, with a deadline in place, I needed to strip the tent out so I would have easy access to everything else and so that I will have maximum ventilation to work on this 87degree summer day.
To do this I started removing all the small screws on the bottom rails of the van. I went all the way around, carefully marking each of the 4 aluminum retainers with their location and direction.
This allowed for an open air ventilation - much like I am expecting with the new three window tent.

Then, started on the upper staples, easing them out at first, in order to start a strip to grab on to then pulled them off. I also needed to unattach the front torsion bar to get the strap and staples behind the screws.

I started getting a bit excited and put my foot through the canvas. Laughed quite a bit - wife did not find it half as funny.


I then started removing the few single staples that were still holding up the canvas.
So the tent fell down, unattached anywhere, like my pants on the floor in the morning.

Now the van has had the top removed. My friends came over and we easily removed it from the top of the van. The way we did it was to leave one of the screws in the torsion bar to position it. I had two guys at the rear of the roof holding it up as I removed the final bolts through the hinges. As they held up the top, and kept it from sliding, I positioned myself to unattach the torsion bar and slide the roof from the upright position to laying down in the bottom position. Then we slid the roof off the back of the van making sure the hinges did not scratch the flocking or roof scratching the paint. I also removed the luggage rack as well - surprised how much crap was under there considering how recently I had that part off the van.

So now I have the top off, and I want to do something about the black stains on the flocking.

The upper left corner has a solution of 10% bleach and 90% water. The stains disappeared right before my eyes.
All came out well:

No comments:
Post a Comment