Showing posts with label wheel arch. Show all posts

07 April 2012

Today's activities

Given that tomorrow is Easter and I wont get any garage time, I went a bit overboard today.  Feeling it right now too. 

Getting dried out with all this sandblasting.  Feel like a piece of parchment right now.  Spent the day prepping the drivers side for subsequent work.  Having done the passenger side, I was able to anticipate sandblasting needs and went to town.
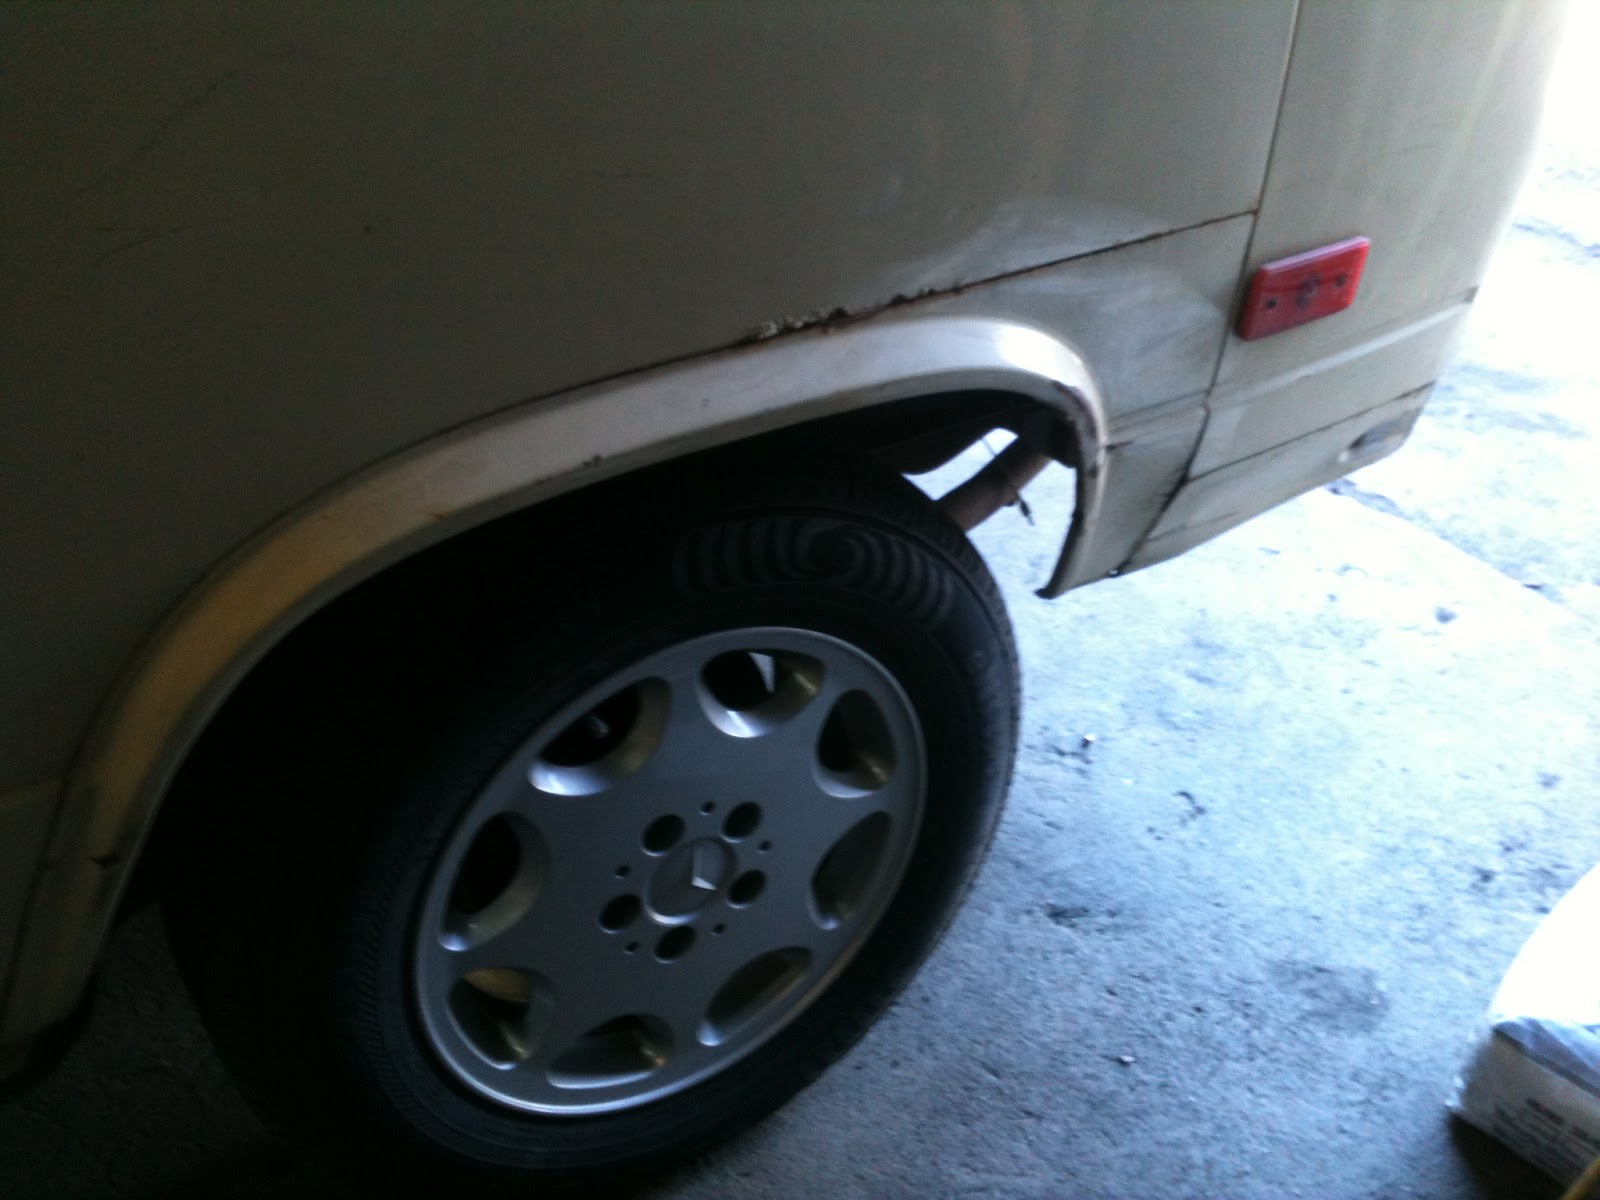


The before photos.  My seam rust is evident here.  Dinged up wheel arch and wonky rear corner panel.
The seam rust on the vertical seam and the lower horizontal seam.  Typical stuff for a nearly 30 year old Vanagon.

Not for long.

Overall, it is really not that bad.


Stripped off the 'removables' - the flue vent, water/elec hookups, side marker light and the wheel house and rear corner panel.


I know its technically not a removable, but to day it is!  Used the whizzer and three cut off wheels to get it to this point. 


Then, cutting the inner wheel house within 5/8 in from the outer edge.  Hammer and chiseled off the remaining piece of old wheel arch.  Left me with this point.


Started with the sandblaster towards the front of the van and worked my way back.  All seams got blasted, whether they needed it or not.  All of the lower panel got blasted too, expecting that I will need to do some work there.


Did the side panel, all seams, flue vent, hookup mount holes.


All of the mount edges for the new wheel arch were done, as was any spot on the van that looked suspect, or would be hard to chemically strip.

That brought me back to the front.


I also did the frames of the windows (slider and rear) in the same fashion I did yesterday; by cutting off a portion of the rubber moulding to allow access.


When I did that, I found this.  Someone has been in here before. 

Not going to be able to work on it for a day or two, work getting in the way.

24 March 2012

Body preparations


The goal for today was to get the wheel arch and lower corner panel installed.  I broke out the sandblaster and cleaned up what would be the mating surfaces for the welds.

Cleaned them up, made sure there was not any caulking that would get in the way (or burn).


I found that once I had them fitted, that I was better off mounting the corner panel and then used that to locate the wheel arch.  There was no place for any clamps if I had not welded in the lower panel first.  Worked out quite well.

The upper portion of the panel was welded through the access afforded through the removal of the inner panel.  The drivers side will be more interesting as the cabinets will have to come out. 


So while the blaster was out, I cleaned up the seams on the nose of any sealer that I could get at.

Then prepped the panel, the A pillars and primed with the Metalok.


I miss having a paper/tape gun.  Peeling off pieces of paper, and then tape is easier from the machine.


The funny gold color is the Metalok.  I will use this to seal up the body while I do the rest of the panels.


For anyone who wondered how you make provision for spot welds, its done with a nifty tool that will punch holes in the panel.  The tool I have used in the past was an expensive version that my body man friend owns.
I bought this cheaper version on ebay for around $30.  Honestly, I do not expect it to last much past my needs for this van, but sure does make things easier.


So now that those items were completed, and the rain seemed to have held off, I started on the tail section again.  Cleaned up the seams, blasted the very bottom of the valence and brought out the Metalok.
Now that part is done, time to work again on the wheel arch, get that into primer.